Assuming you already have samba server up and running. If not, you can use all-in-one solution like this one mbentley/docker-timemachine
This guide is focused on the minimal setup without redundant features.
(Windows file systems are not supported: NTFS, Refs.)
Config /etc/samba/smb.conf
Add the following options under [global] sector:
[global]

fruit:aapl = yes
fruit:nfs_aces = no
fruit:model = TimeCapsule8,119
fruit:metadata = stream
fruit:veto_appledouble = no
fruit:posix_rename = yes
fruit:zero_file_id = yes
fruit:wipe_intentionally_left_blank_rfork = yes
fruit:delete_empty_adfiles = yes
Create a new share for Time Machine, with following options:
[TimeMachine]
   path = /srv/samba/timemachine
   comment = Apple TimeMachine Backup Target
   browsable = yes
   writable = yes
   inherit permissions = yes
   read only = no
   valid users = <your_username>
   vfs objects = fruit streams_xattr
   fruit:time machine = yes
   fruit:time machine max size = <disk_quota>
Change path, valid users and fruit:time machine max size accordingly.
For 1TB of quota, you can usefruit:time machine max size = 1099511627776
orfruit:time machine max size = 1T
Or just delete it for unlimited disk space.
Add .plist files
Assuming /srv/samba/timemachine is where your backup stored.
Use the following command to create an empty file for marking.
touch /srv/samba/timemachine/.com.apple.TimeMachine.supportedThen create a quota file (Optional)
tee -a /srv/samba/timemachine/.com.apple.TimeMachine.quota.plist << EOF
<?xml version="1.0" encoding="UTF-8"?>
<!DOCTYPE plist PUBLIC "-//Apple//DTD PLIST 1.0//EN" "http://www.apple.com/DTDs/PropertyList-1.0.dtd">
<plist version="1.0">
    <dict>
        <key>GlobalQuota</key>
            <integer>1099511627776</integer>
    </dict>
</plist>
EOF
Now the preparation for the samba server is finished.
Connect from Mac
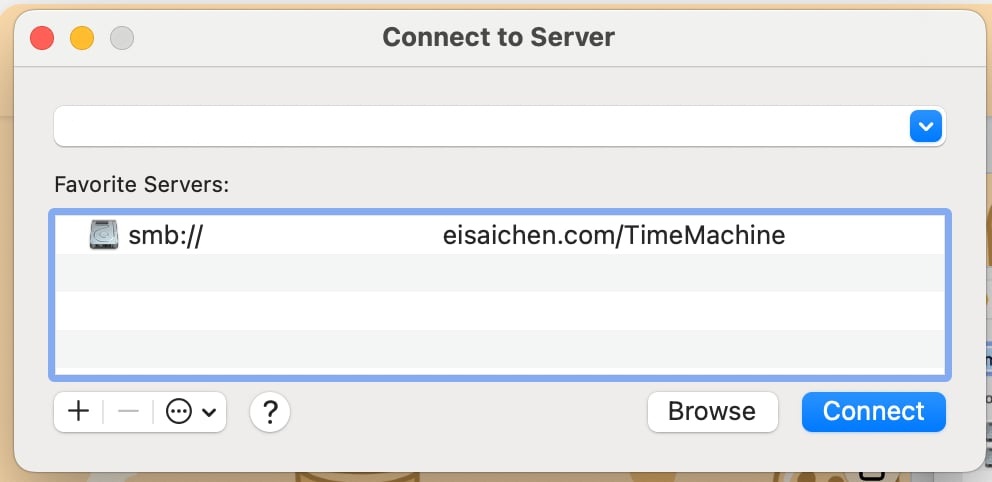
Open Finder on your Mac, then on the top bar > Go > Connect to Server
smb://192.168.1.100/TimeMachine

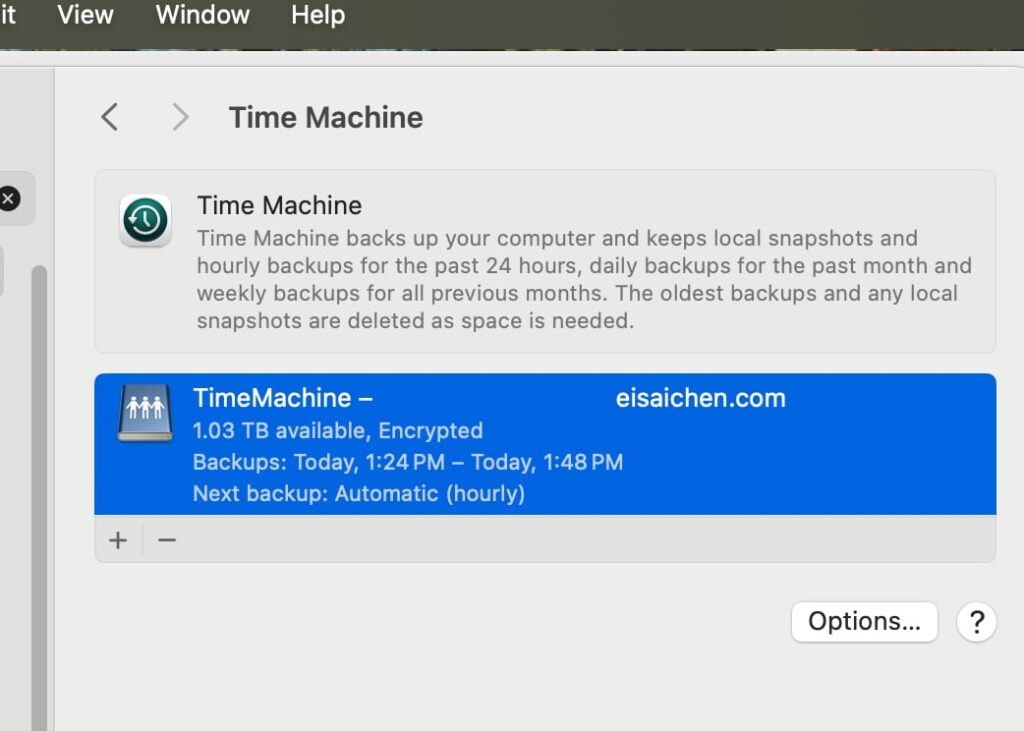
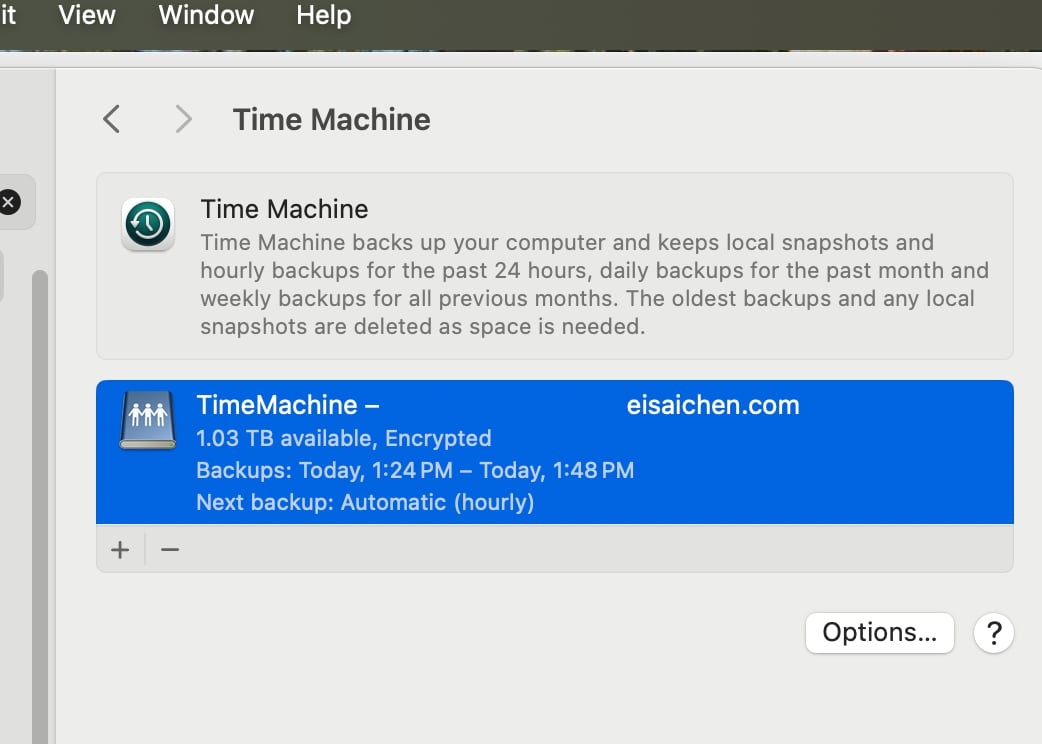
Then, open Settings, Time Machine > Add disk, and you should able to see your Linux server as an option.
Once set up, the backup will not engage immediately, it will proceed automatically at the next scheduled time in the background.

For Discovery and Automatic Setup, you can use avahi and netatalk.
Reference
vfs_fruit
Configure Samba to Work Better with Mac OS X
